Supplies Needed
Embroidery Hoops
- Hoops are used to hold your fabric taut as you stitch prevents puckering and allows for even stitches. These come in a lot of sizes, shapes and materials.
- Hoops are commonly made of wood, but you can also purchase plastic or metal hoops. They are generally available in sizes ranging from 4-12 inch diameter. However, we’d suggest using smaller hoops, they are easier to handle and more likely to keep the fabric taut than a larger hoop. There are so specific rules to choosing a hoop, select a hoop that works the best for your project.
- Hoops can also be found in various shapes- round, oval, and square. Choose a shape that suits your design the most.
Fabric
- Fabric suitable for embroidery can be found in different thread counts and fiber contents. Embroidery fabrics come in two variants- Plain weave and Evenweave. For beginners, we’d suggest going with Evenweave (woven) fabrics like Aida (best for cross- stitch patterns), muslin, linen, canvas, or a blended cotton/synthetic fabric.
- You might want to avoid fabrics like satin, silk, jersey/other stretchy fabrics, velvet, fleece and gauze / very thin fabrics if you are just starting out
Needles
- Crewel Needles are generally are used for general surface embroidery, crewel work, goldwork and any embroidery technique that requires a sharp needle. Crewel needles have a longer eye for easier threading of thicker embroidery threads.
- Tapestry needles have a blunt tip and are perfect for certain embroidery stitches like Whipped and Laced stitches.
- Chenille Needles are used for general surface embroidery, crewel work, chenille embroidery. Chenille needles have a sharper tip and a large, long eye, which makes it easier to use specialty threads like metallic or chenille threads.
- Milliner Needles- Milliner needles are long with a shaft that is the same thickness as the eye. Since they are straight up and down and do not widen at the eye, these needles are perfect for stitches where the thread is wrapped around the needle multiple times and the whole needle has to pass through the layers. Stitches like the Bullion knots, Cast-on stitch, Drizzle stitch, and French knots can be achieved with ease with a Milliner needle
Scissors
- Embroidery Scissors are small and sharp, making them perfect for cutting threads and unwanted stitches.
- Fabric shears would also be a good addition to your supplies kit.
Embroidery Floss
- Embroidery floss, also known as stranded cotton, is the most commonly used thread for embroidery. It consists of 6 individual strands that can be combined or separated to achieve the desired thickness / detailing.
Transfer Paper or Water Soluble Pen
- Check “Transferring your Pattern” for more information.
Additional Supplies
- Printer, Lightbox/ Window (a light source), Fabric Glue, Floss Bobbins (to help you organize your embroidery threads
Tips To Help You Get Started
- Begin by transferring the pattern on to your fabric, instructions for which can be found in this guide.
- Mount the fabric into the hoop by loosening the screw join and separating the two rings; lay the fabric over the inner ring and press the outer ring down around the inner ring; tighten the screw again, and this should secure your fabric in the embroidery hoop. Make sure to keep the fabric taut while working to prevent puckering.
- Once you have the fabric ready to be embroidered, it’s time to thread your needle. Standard cotton embroidery floss consists of 6 strands that can be separated or combined. For bolder or thicker lines, use all 6 strands to embroider. If you want your embroidery to look more intricate and achieve more details with finer stitches, you can decrease the number of strands used. Splitting the floss allows you to experiment with different thicknesses of your lines, using fewer threads for smaller,and more detailed work.
- Start by splitting the floss into half the number of strands you plan on using for your design. For instance, if you plan on using 4 strands split the floss into 2.
- Cut a length of the floss and split it by pulling on 2 strands, letting the floss unravel. Holding it up high to unravel will help knots from forming.
- Thread the separated strands of floss through your needle. Bring the needle to the center of your floss and join the two ends of the thread by tying a knot.
- Tying the two ends together should give you the exact number of strands you want to work with.
- It’s okay to make mistakes and if you do a pair of embroidery scissors will help you fix the mess.
- Remove the unwanted stitches and start over.
- When you run out of floss or when ending a stitch, make sure to flip the hoop and knot the floss at the back. You can then cut off the excess floss.
Transferring Your Pattern
- Download your pattern and print it out. The design can be reduced or enlarged to suit your needs.
- Cut around the design on the paper and place it face side up on a table or a flat surface Pick the fabric you want to embroider on and place it on the design sheet.
- Once you are sure about the placement of the design, secure the sheet using pins or tape. You can try mounting the fabric into your hoop as well. Centre the hoop on top of your design sheet (once again, place the pattern face side up).
- Hold the fabric (or the hooped fabric) against a light source - a window, a light-box or even a computer screen would work, and trace your pattern onto the fabric with a water-soluble transfer pen.
- After transferring the pattern, remove the taped or pinned design from the fabric.
- You are all set to embark on a journey of making your embroidery dreams come true. Hoop your fabric and let the stitching begin.
Additional Transfer Methods
- Tracing works well if you are using a lighter colored or a thinner fabric. If you are planning on using a darker or thicker fabric placing it against a light source may not work. We’d suggest using a carbon or wax-based transfer paper for such fabrics.
- You can try transferring your pattern using a graphite paper as well. To use a transfer paper, lay the fabric face-up on a table or a flat surface. Centre the paper over the fabric and place your pattern on top of the transfer paper.
- Use a pencil or an empty pen to transfer the design onto your fabric, make sure to press hard enough.
- This technique involves tracing your pattern onto a lightweight tracing paper and then basting the paper onto your fabric. You can stitch through the paper and the fabric, and tear off the tracing paper once you are done stitching (please do so carefully).
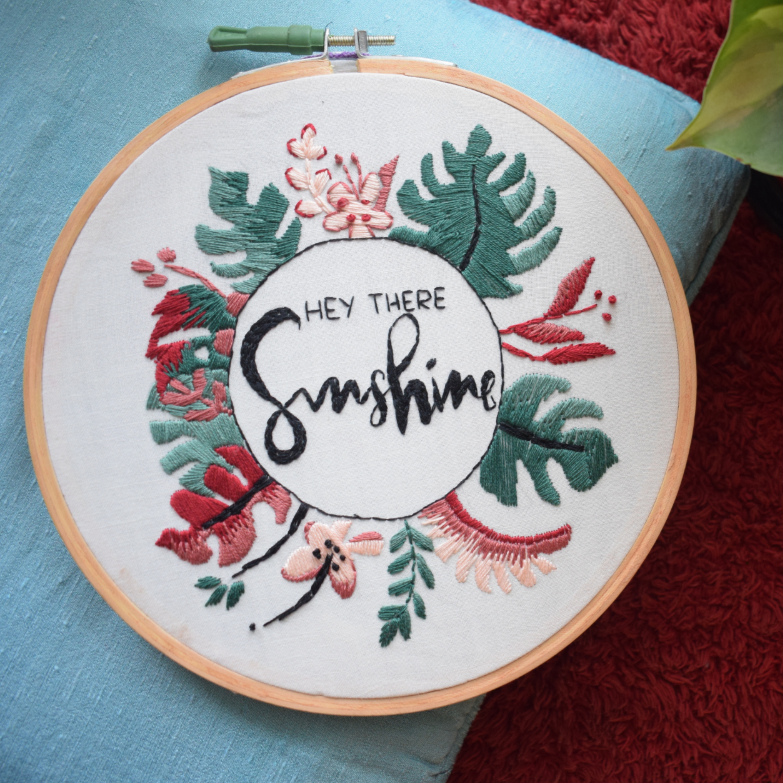
Craftise Embroidery Pattern

Take a print of this pattern and transfer it on to your fabric as explained above
Starting & Ending Your Floss
Knots are a good way to start and end a stitch but they can make the back of a project look untidy and create bumps on the front of your fabric. Knots can also unravel with use or while laundering.
Starting stitches with Waste Knot
- A waste knot is placed on the front side of the fabric by drawing the floss through the top of the fabric. You can place the knot on your stitching line or to the side. Draw out its tail on the back of the fabric and begin your stitches.
- Complete a couple of stitches towards the knot to secure the tail of the knot in place.
- Once it’s secured, you can clip the waste knot. You can further secure the floss by running your threaded needle through the last few stitches on the back of your fabric.
- The waste knot method can also be used as a base for decorative stitches like the French knot, Satin stitch etc.
Starting stitches with Away Knot
- An away knot is placed a couple of inches away from where the embroidery begins. Clip the knot after working the embroidery, and thread your needle with the tail and run it through the stitches on the back of the fabric.
- To end a thread without making a knot, take your threaded needle to the back of your fabric and run it under the last few stitches and clip the floss. These are just some tips to help you start and finish a project without using knots, however, use a method that feels the most comfortable to you.
Stitches Used In The Pattern
French Knot
- French knot is one of the most essential stitches in hand embroidery. They can be used instead of colonial knots or even beads. French knots are primarily used for filling up flower centers, petals, leaves, eyes, plants, decorative borders etc.
- Start at 1.
- Wrap the thread once or twice around the end of the needle. Wrap once for a small knot and twice for a larger knot. Another way to get a larger knot is to use more strands of floss.
- Hold the thread taut with one hand and pull the thread so that the wrapped strands tighten, push the needle into the fabric next to 1.
- Gently pull the thread through the back of the fabric, while holding on to the working thread, until the knot is formed.
Back Stitch
- Back stitch is an outline stitch and one of the most likely one of the first few stitches that a beginner would learn.
- It’s primarily used for outlining designs which can be then filled in with other decorative stitches, lettering and as the basis for other composite stitches. Bring the needle up through your fabric at 1 and back down at 2.
- Move one stitch length ahead and bring the needle up at 3, then back down at 1, in effect creating a stitch by taking the thread backward.
Satin Stitch
- Satin stitch or Damask stitch is a series of flat, close stitches used to fill a design. It’s often referred to as the flat satin stitch to differentiate it from other forms of satin stitch
- Bring the needle up through the fabric at 1, down at 2, then back up right next to where you started and down onto the opposite side. Repeat this process until the area is filled.
- Avoid pulling the stitches too tightly as it may cause the fabric to pucker. Satin stitch should produce a smooth look with flat stitches covering an area of the fabric.
Long and short satin stitch
- Long and short stitch is a filling stitch and is extremely useful to fill big design areas. This stitch is commonly used for shaded filling and for achieving three dimensional effect.
- It’s perfect for thread painting, which uses dual-toned threads and blending of different coloured threads to create beautiful designs.
- To achieve the shading effect a different coloured thread can be used for every row.
- Mark the outline of the area to be embroidered. Bring the needle up through your fabric and work a row of alternating long and short stitches around the edge.
- For the next row, stitch long even length stitches, filling the gaps created by the first row of short stitches, passing the needle through the tip of the stitch above.
- Repeat this process until the design is nearly filled. The last row would mostly be worked with short stitches or long and short stitches to fill in the open area along the bottom of the design.
Finishing Your Project
- Once you have finished stitching your design, rinse your base fabric under cold water to wash off marks made using your transfer pen/water soluble marker.
- If you wish to stain your hoop, kindly remove the inner hoop as only the outer hoop needs to be stained. Use sandpaper to remove any splinters or rough patches on the hoop and wipe off any excess dust. Apply a coat of the wood stain and rub off any excess stain with a rag.
- Leave it to dry and add a second or third coat if needed, follow up with a coat of varnish for some extra protection and shine.
- The last step involves sprucing up the back of the hoop to make it display ready. There are two easy methods to finish your work in a hoop. Before starting please ensure that the design is centred and that the fabric is placed tightly in the hoop.
- For the first method, trim a bit of the excess fabric and use some fabric glue to attach the excess to the inner hoop. Clamp it down and ensure that it dries properly.
- For the second method, cut off the excess fabric but leave enough to stitch through. Then, use running stitch around the whole piece, once you reach the beginning of your stitch; pull the floss gently to gather the fabric. Tie a knot close to the fabric to secure the stitch. You can also sew or glue a piece of felt/fabric to the backs of your hoop if you prefer it closed